
Light painting - Custom Harley Davidson RG3
The term light painting can be used to describe two techniques for supplementing light in your automotive photography. The first technique is to utilize a long exposure and move a LED light, RGB, sparkler or other light source around your subject. You can also create those cool light streaks around the subject. The second form of light painting is the process of taking multiple exposures of the same scene or photo and changing the areas of focused illumination. Both techniques require some sort of post production editing in Photoshop or your preferred professional photo editing software.
For the purposes of this article I will describe how I used the latter form of light painting. If you’re interested in getting the equipment that I use, my affiliate links can be found at the end of this article.
I had the opportunity to shoot this custom 2024 Harley Davidson RG3 at the MAPS Air Museum in North Canton, OH. The owner of the bike was looking to have professional photos support his bike so that he could enter it in shows for the 2026 season.
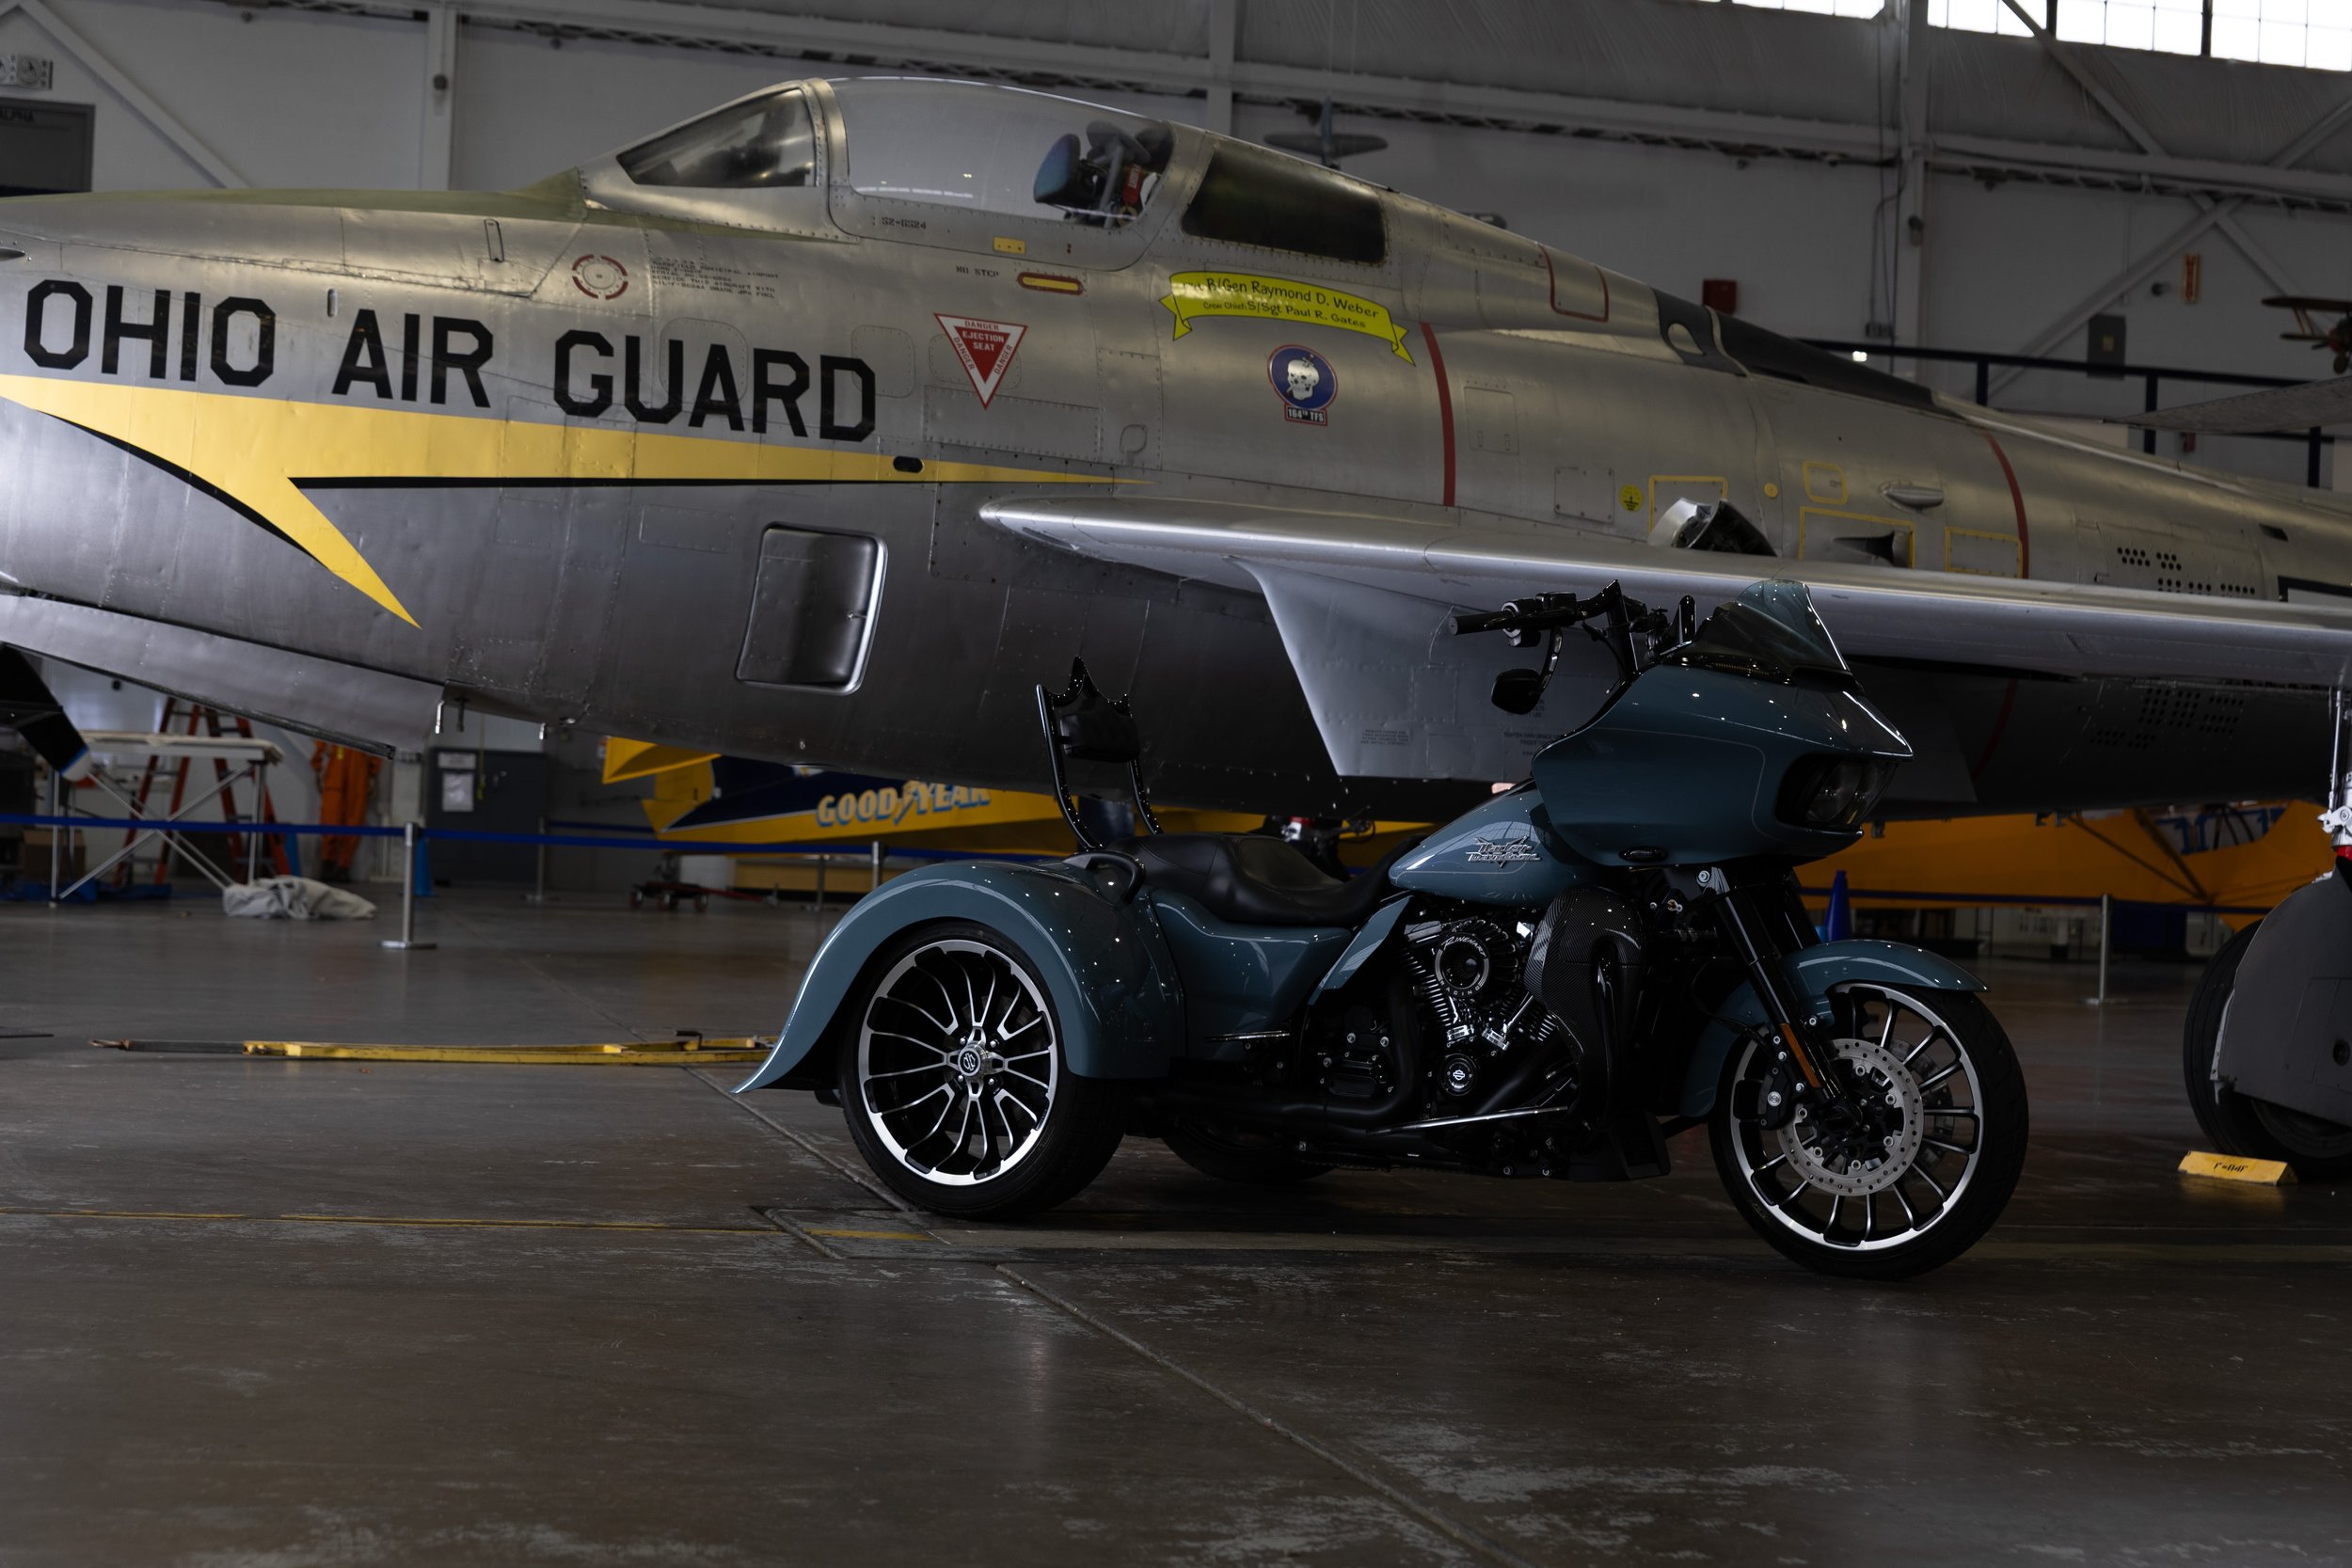
The first exposure is to serve as my base. Key things I was looking for to cross off in the mental checklist: proper focus of the motorcycle and airplane, composition, making sure the “Ohio Air Guard” was visible.
Camera Settings
ISO 200
53mm
F 4.0
1/13
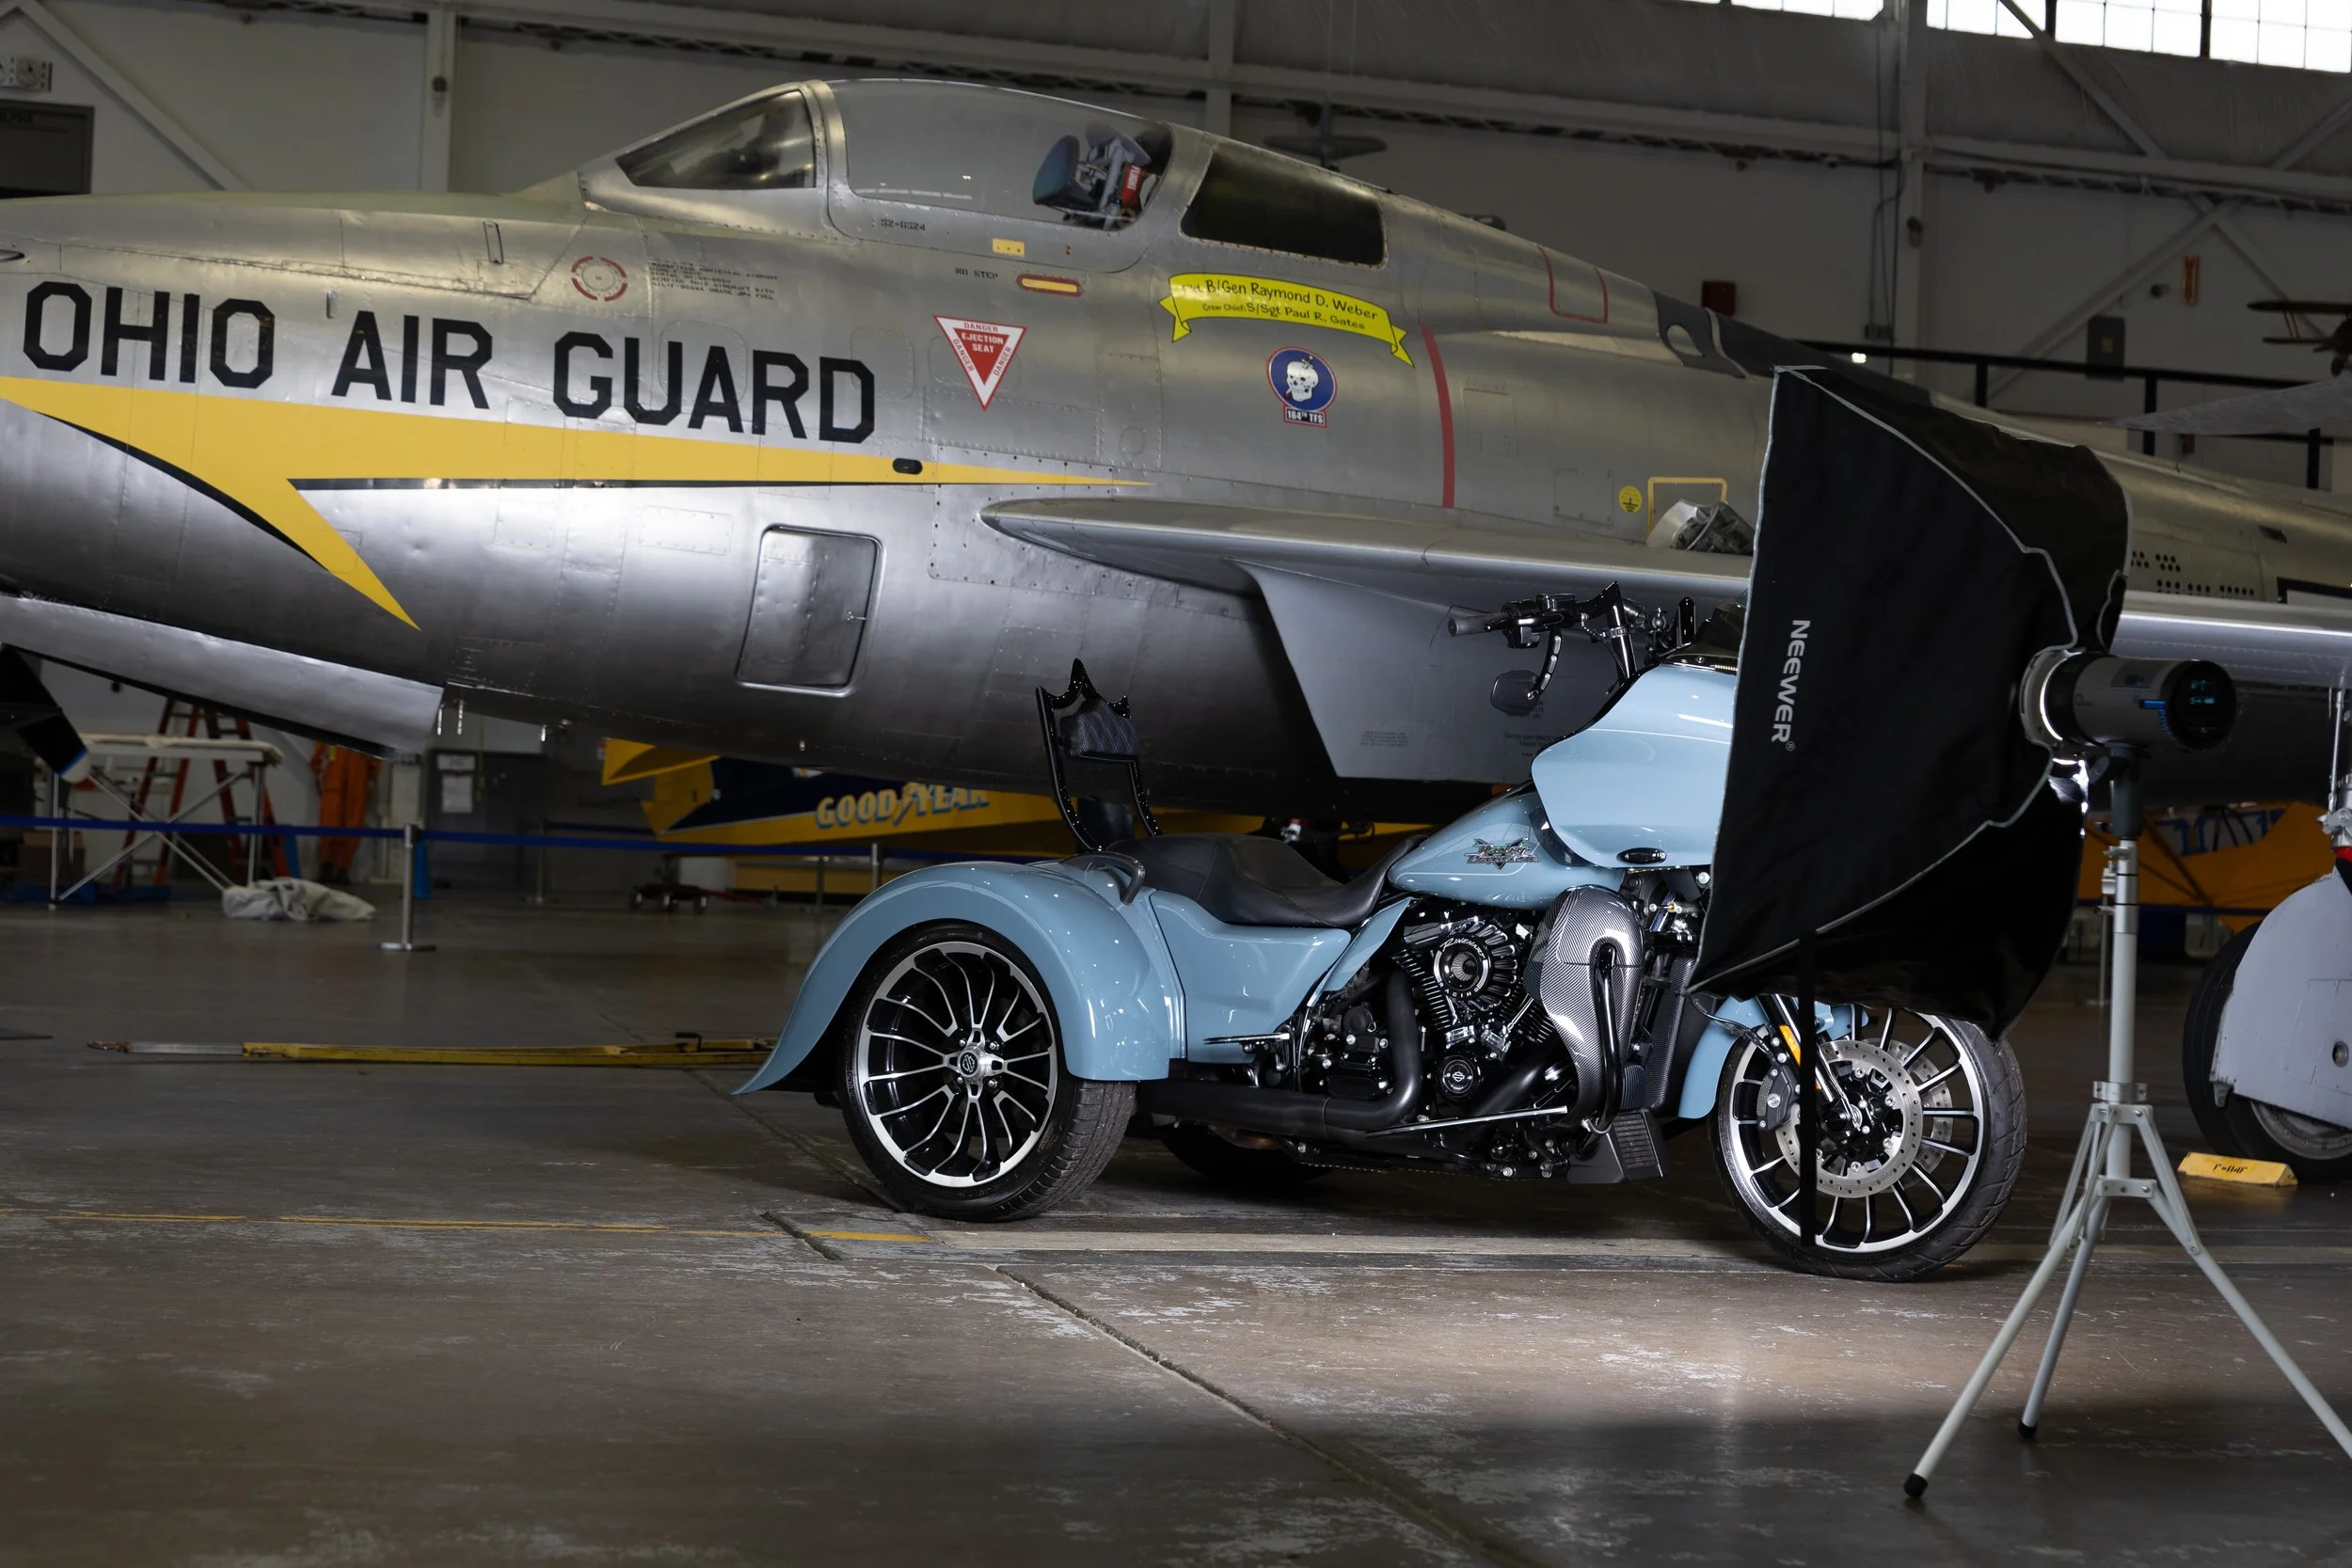
Light Settings
1/1- 1/4 power (honestly I think I stayed with 1/1).
I wanted to make sure to underexpose to ensure when I brought in the light, it would pop and the highlights and contrast would stand out.
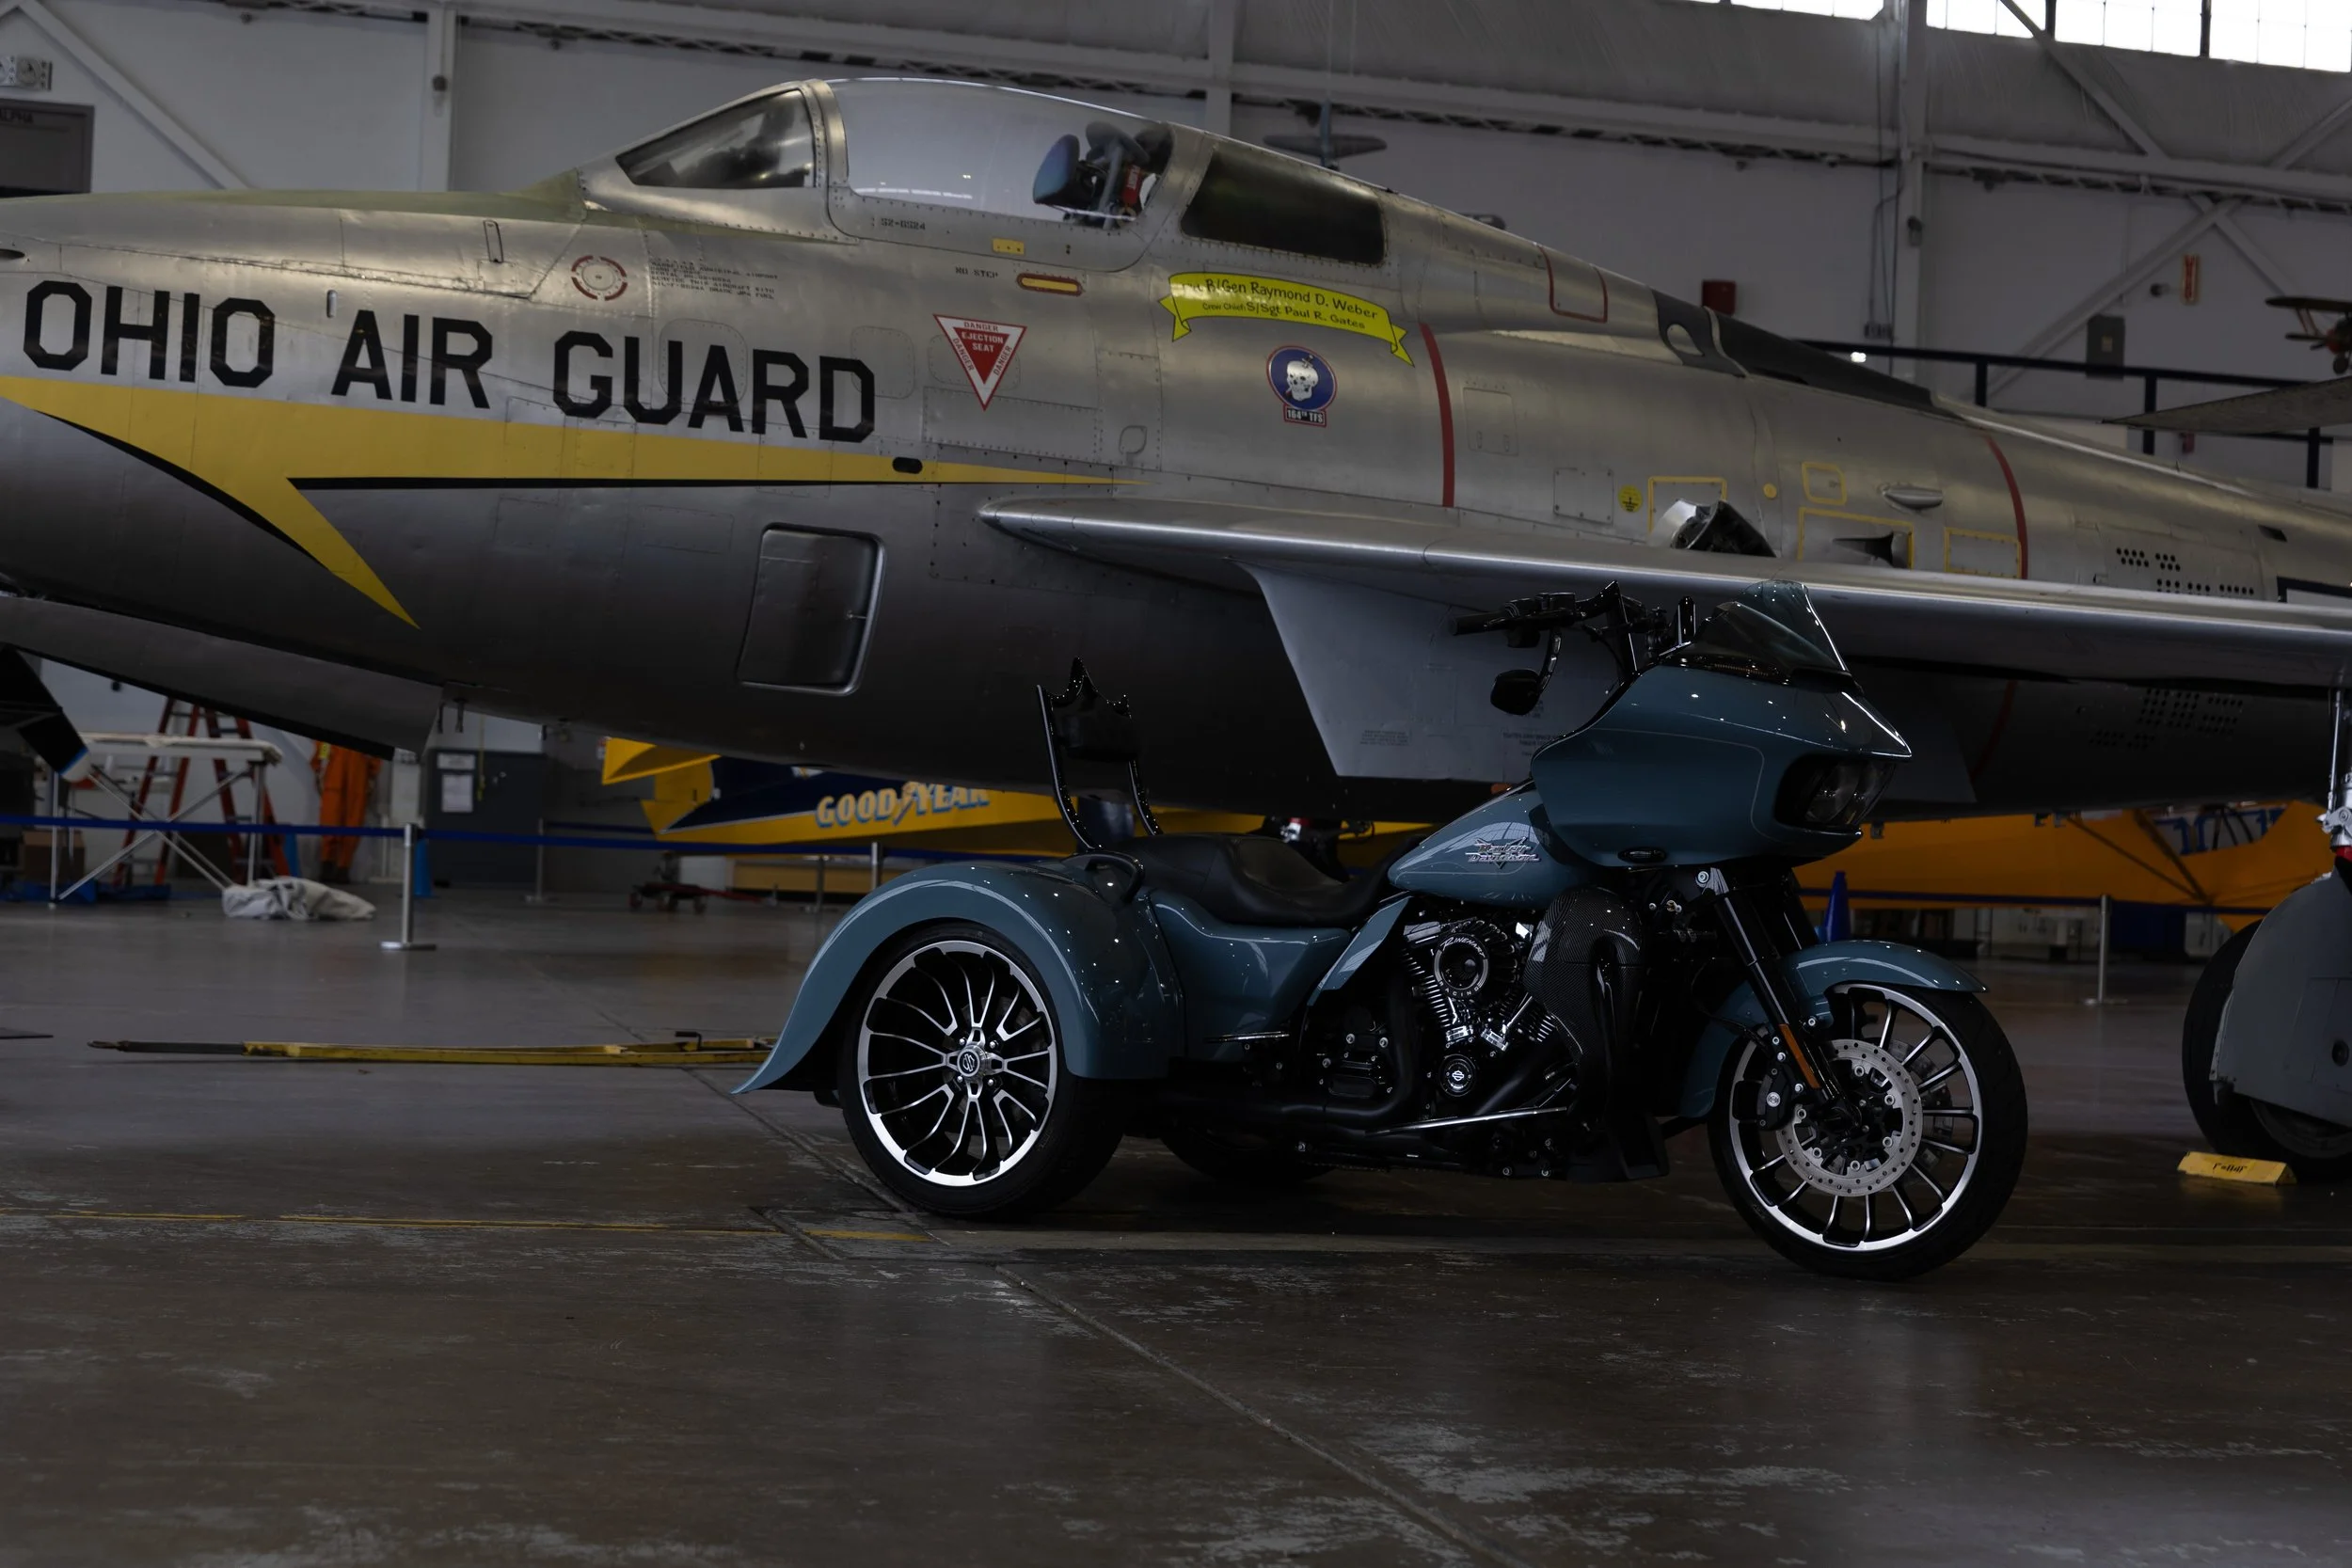
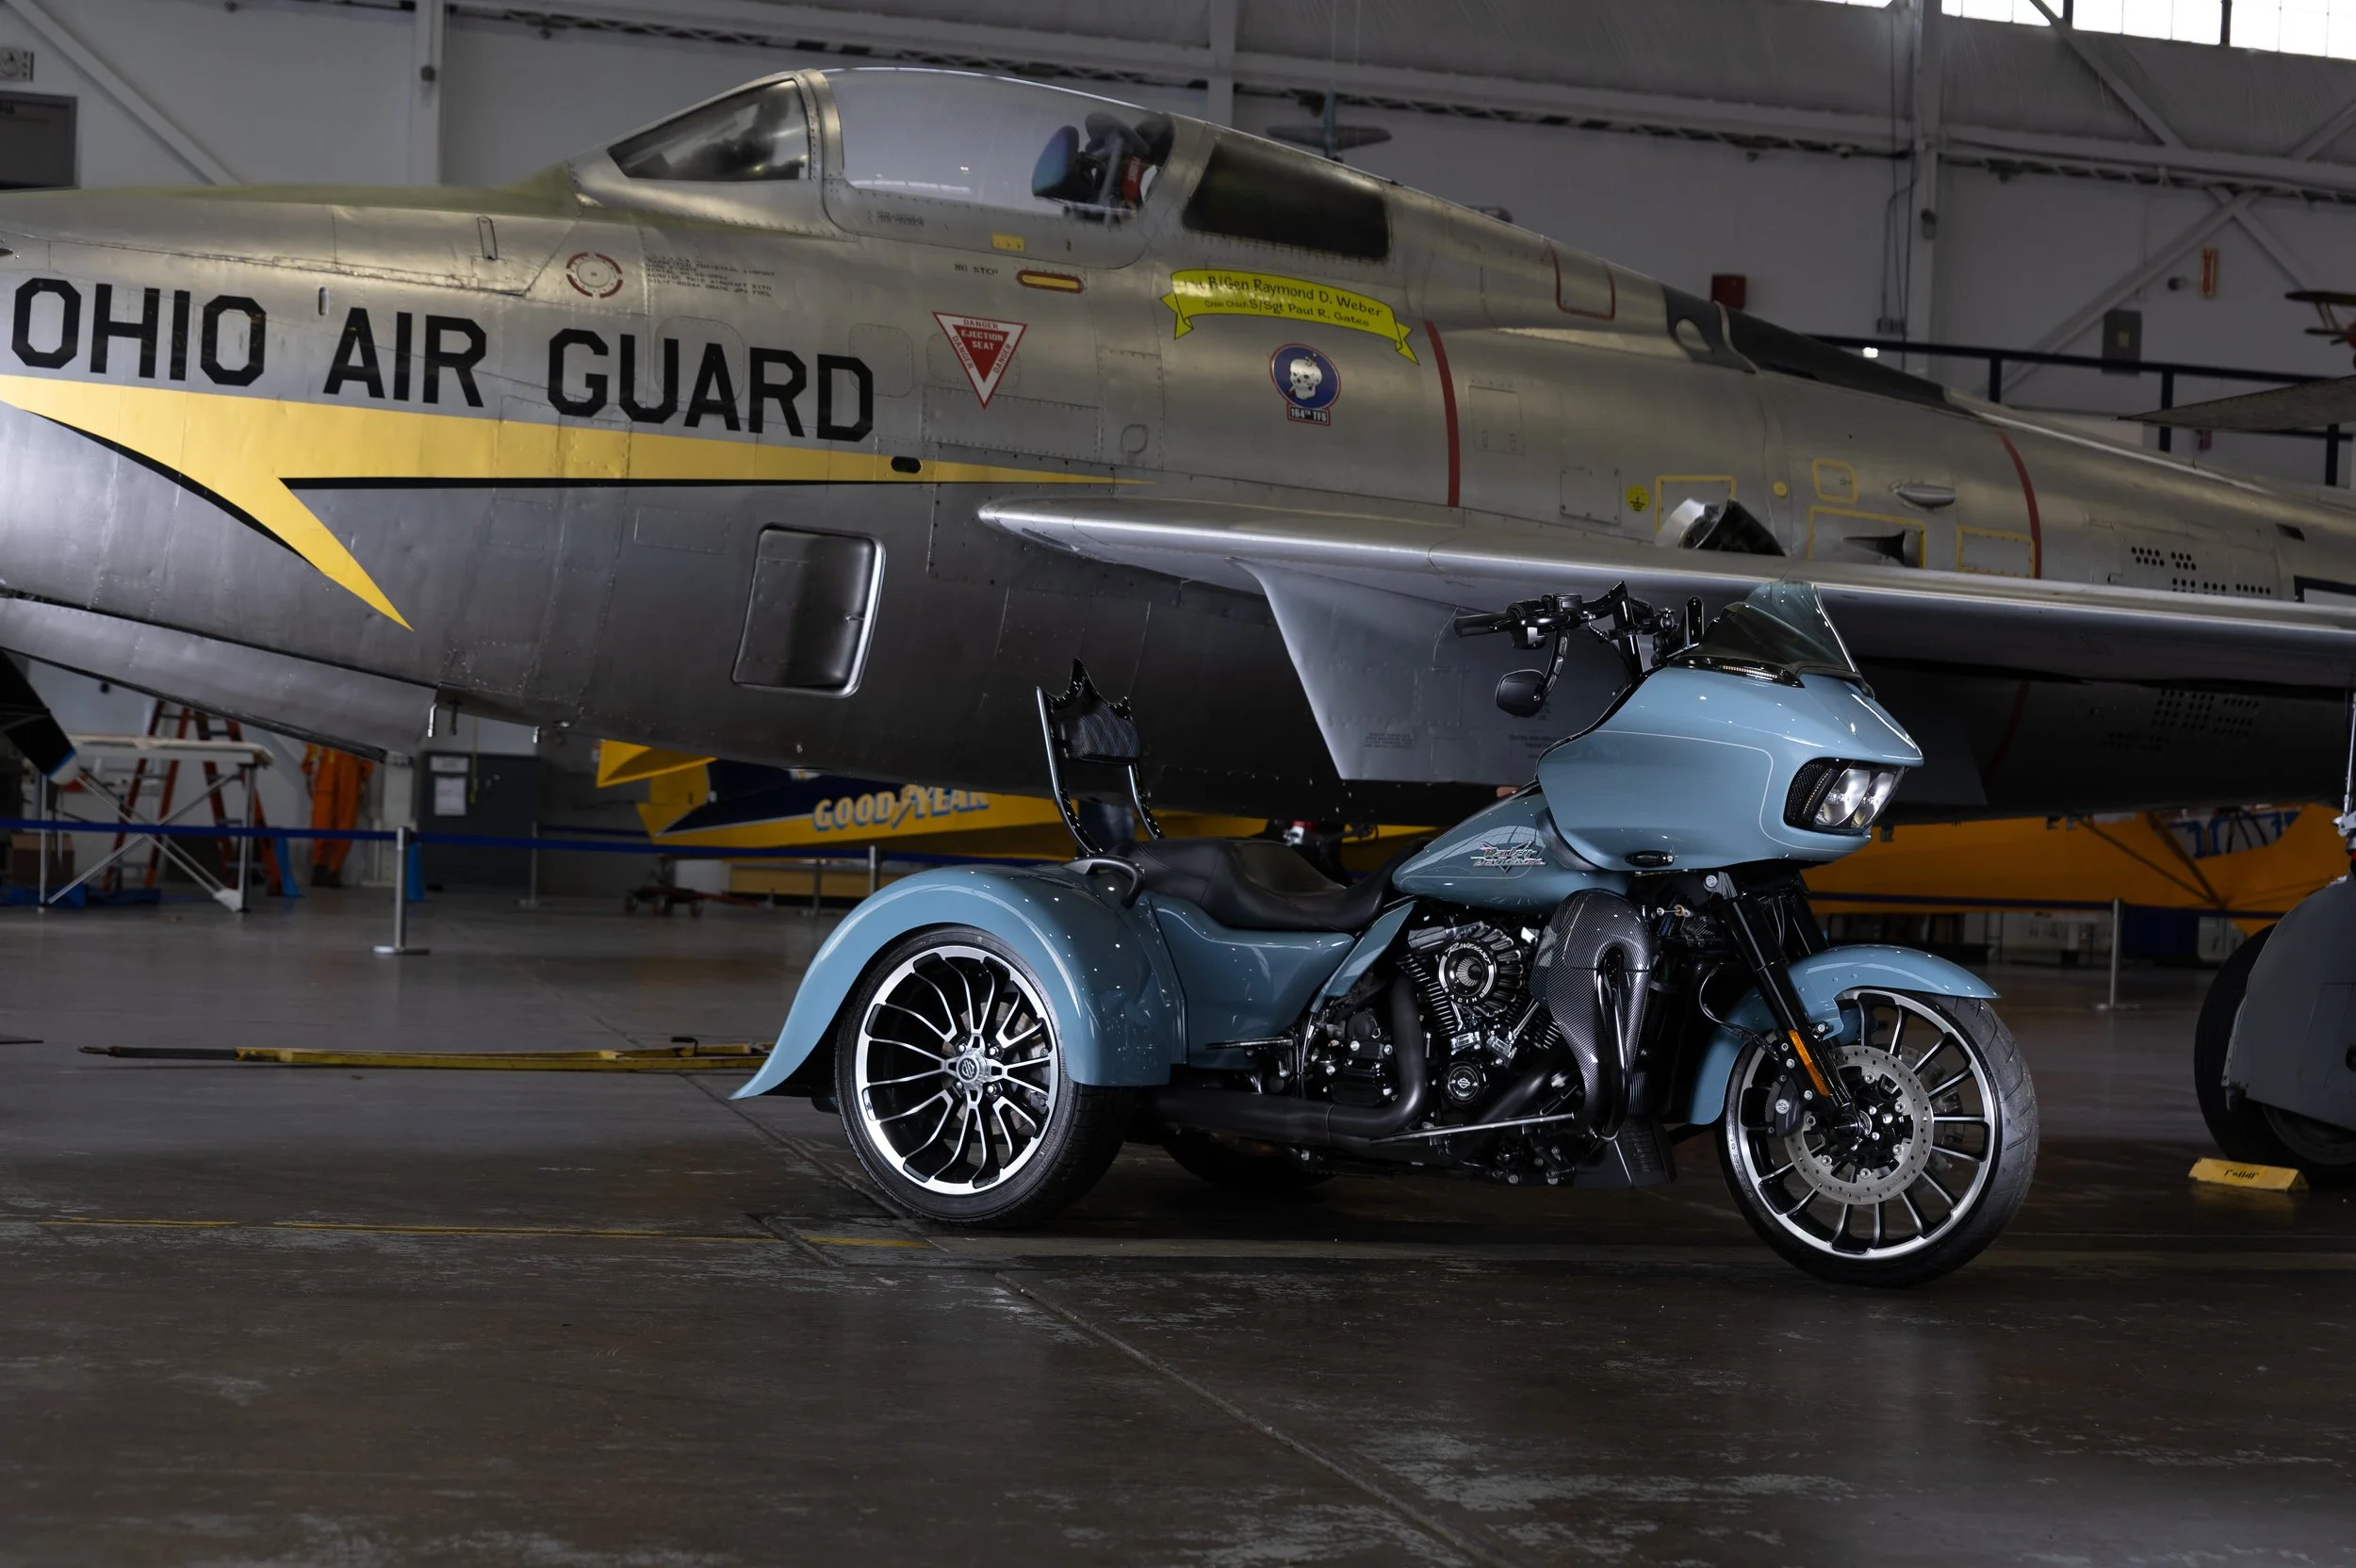
Right 3/4- I chose to illuminate the right ¾ of the bike. This gave me some really cool light on the sissy bar, wheel and rear right fender.
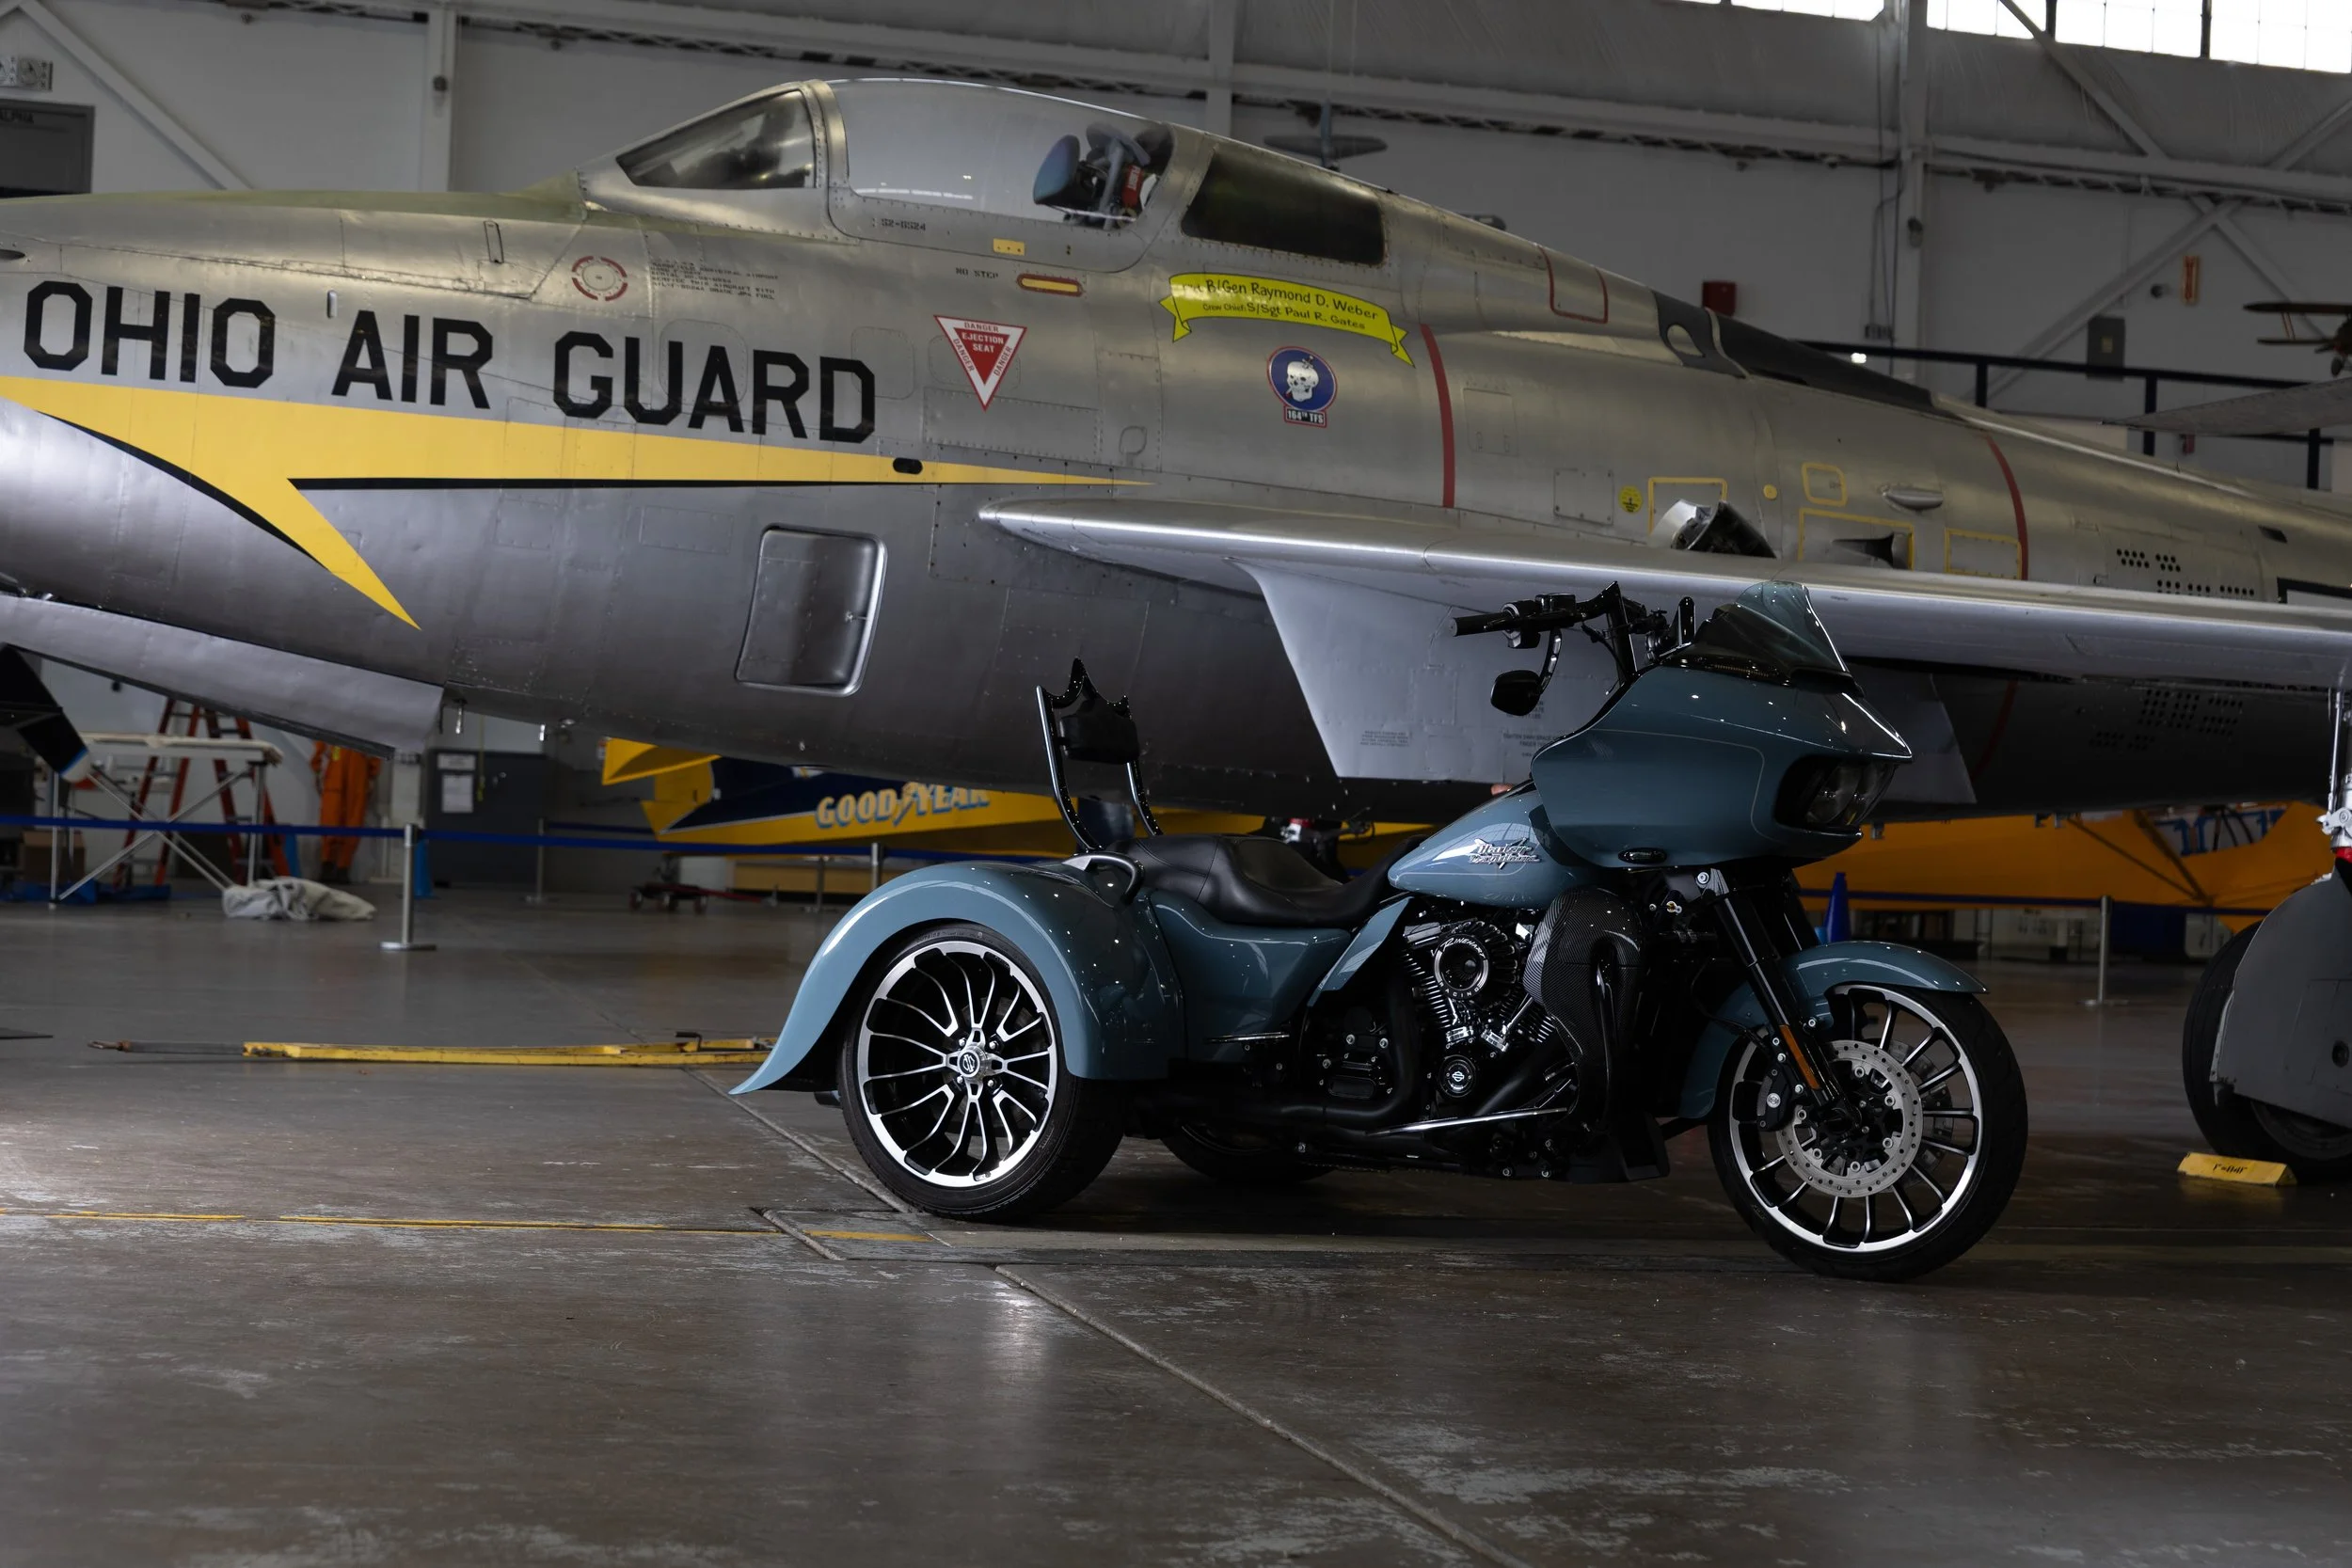
Direct front - Next was to shed some light on the front fender and forks, wheel, headlights and carbon fiber attachment to the radiator.
Right rear wheel - I wanted more light to be shed on the right rear wheel and tire. For this, I lowered my light tripod for more direct light.
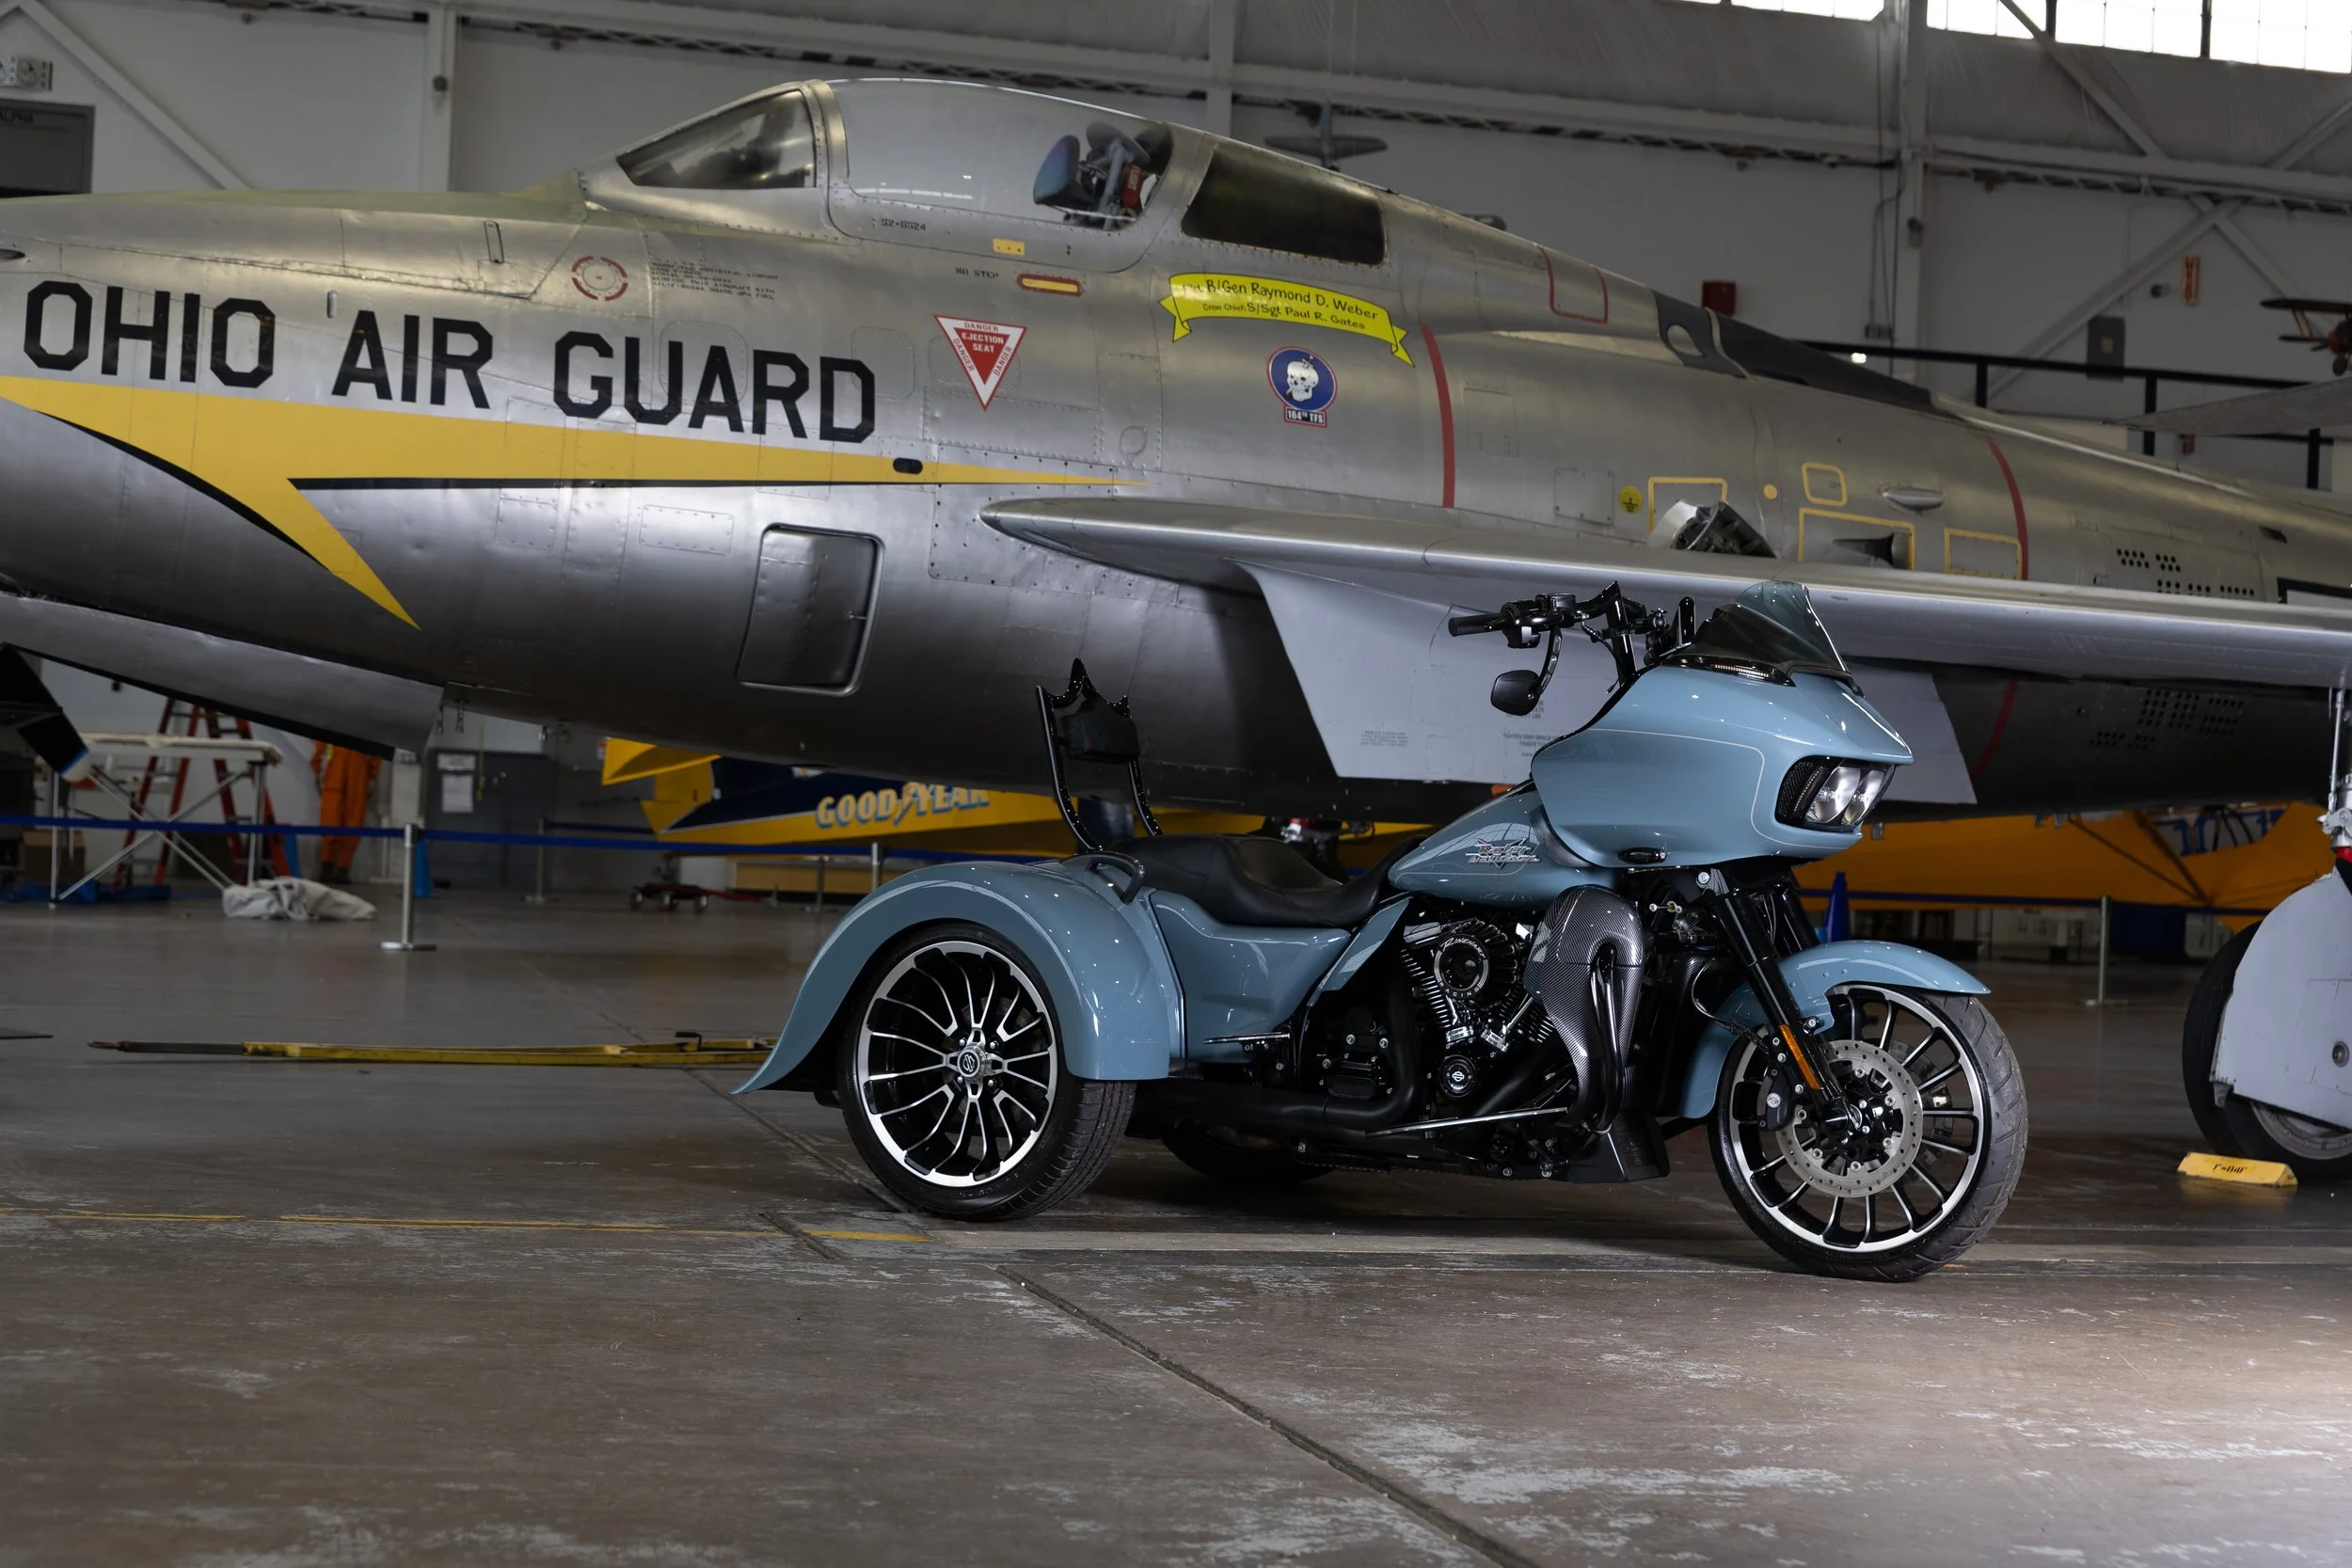
Front wheel - Again, I used the lowered light to splash more light on the front fender and wheel.
Engine and seat - For the next shot I put the light on engine. This also gave me some good highlights on the stitches of the sissy bar. Light was also achieved on the front of the rear fender. I also got some cool light on the plane in the background but I ended up not painting that in.
Plane - I thought it was also important to add some light on the front of the plane to give it some more character. I was pleased with how it lit up the Ohio Air Guard and we got some highlights on the wing.
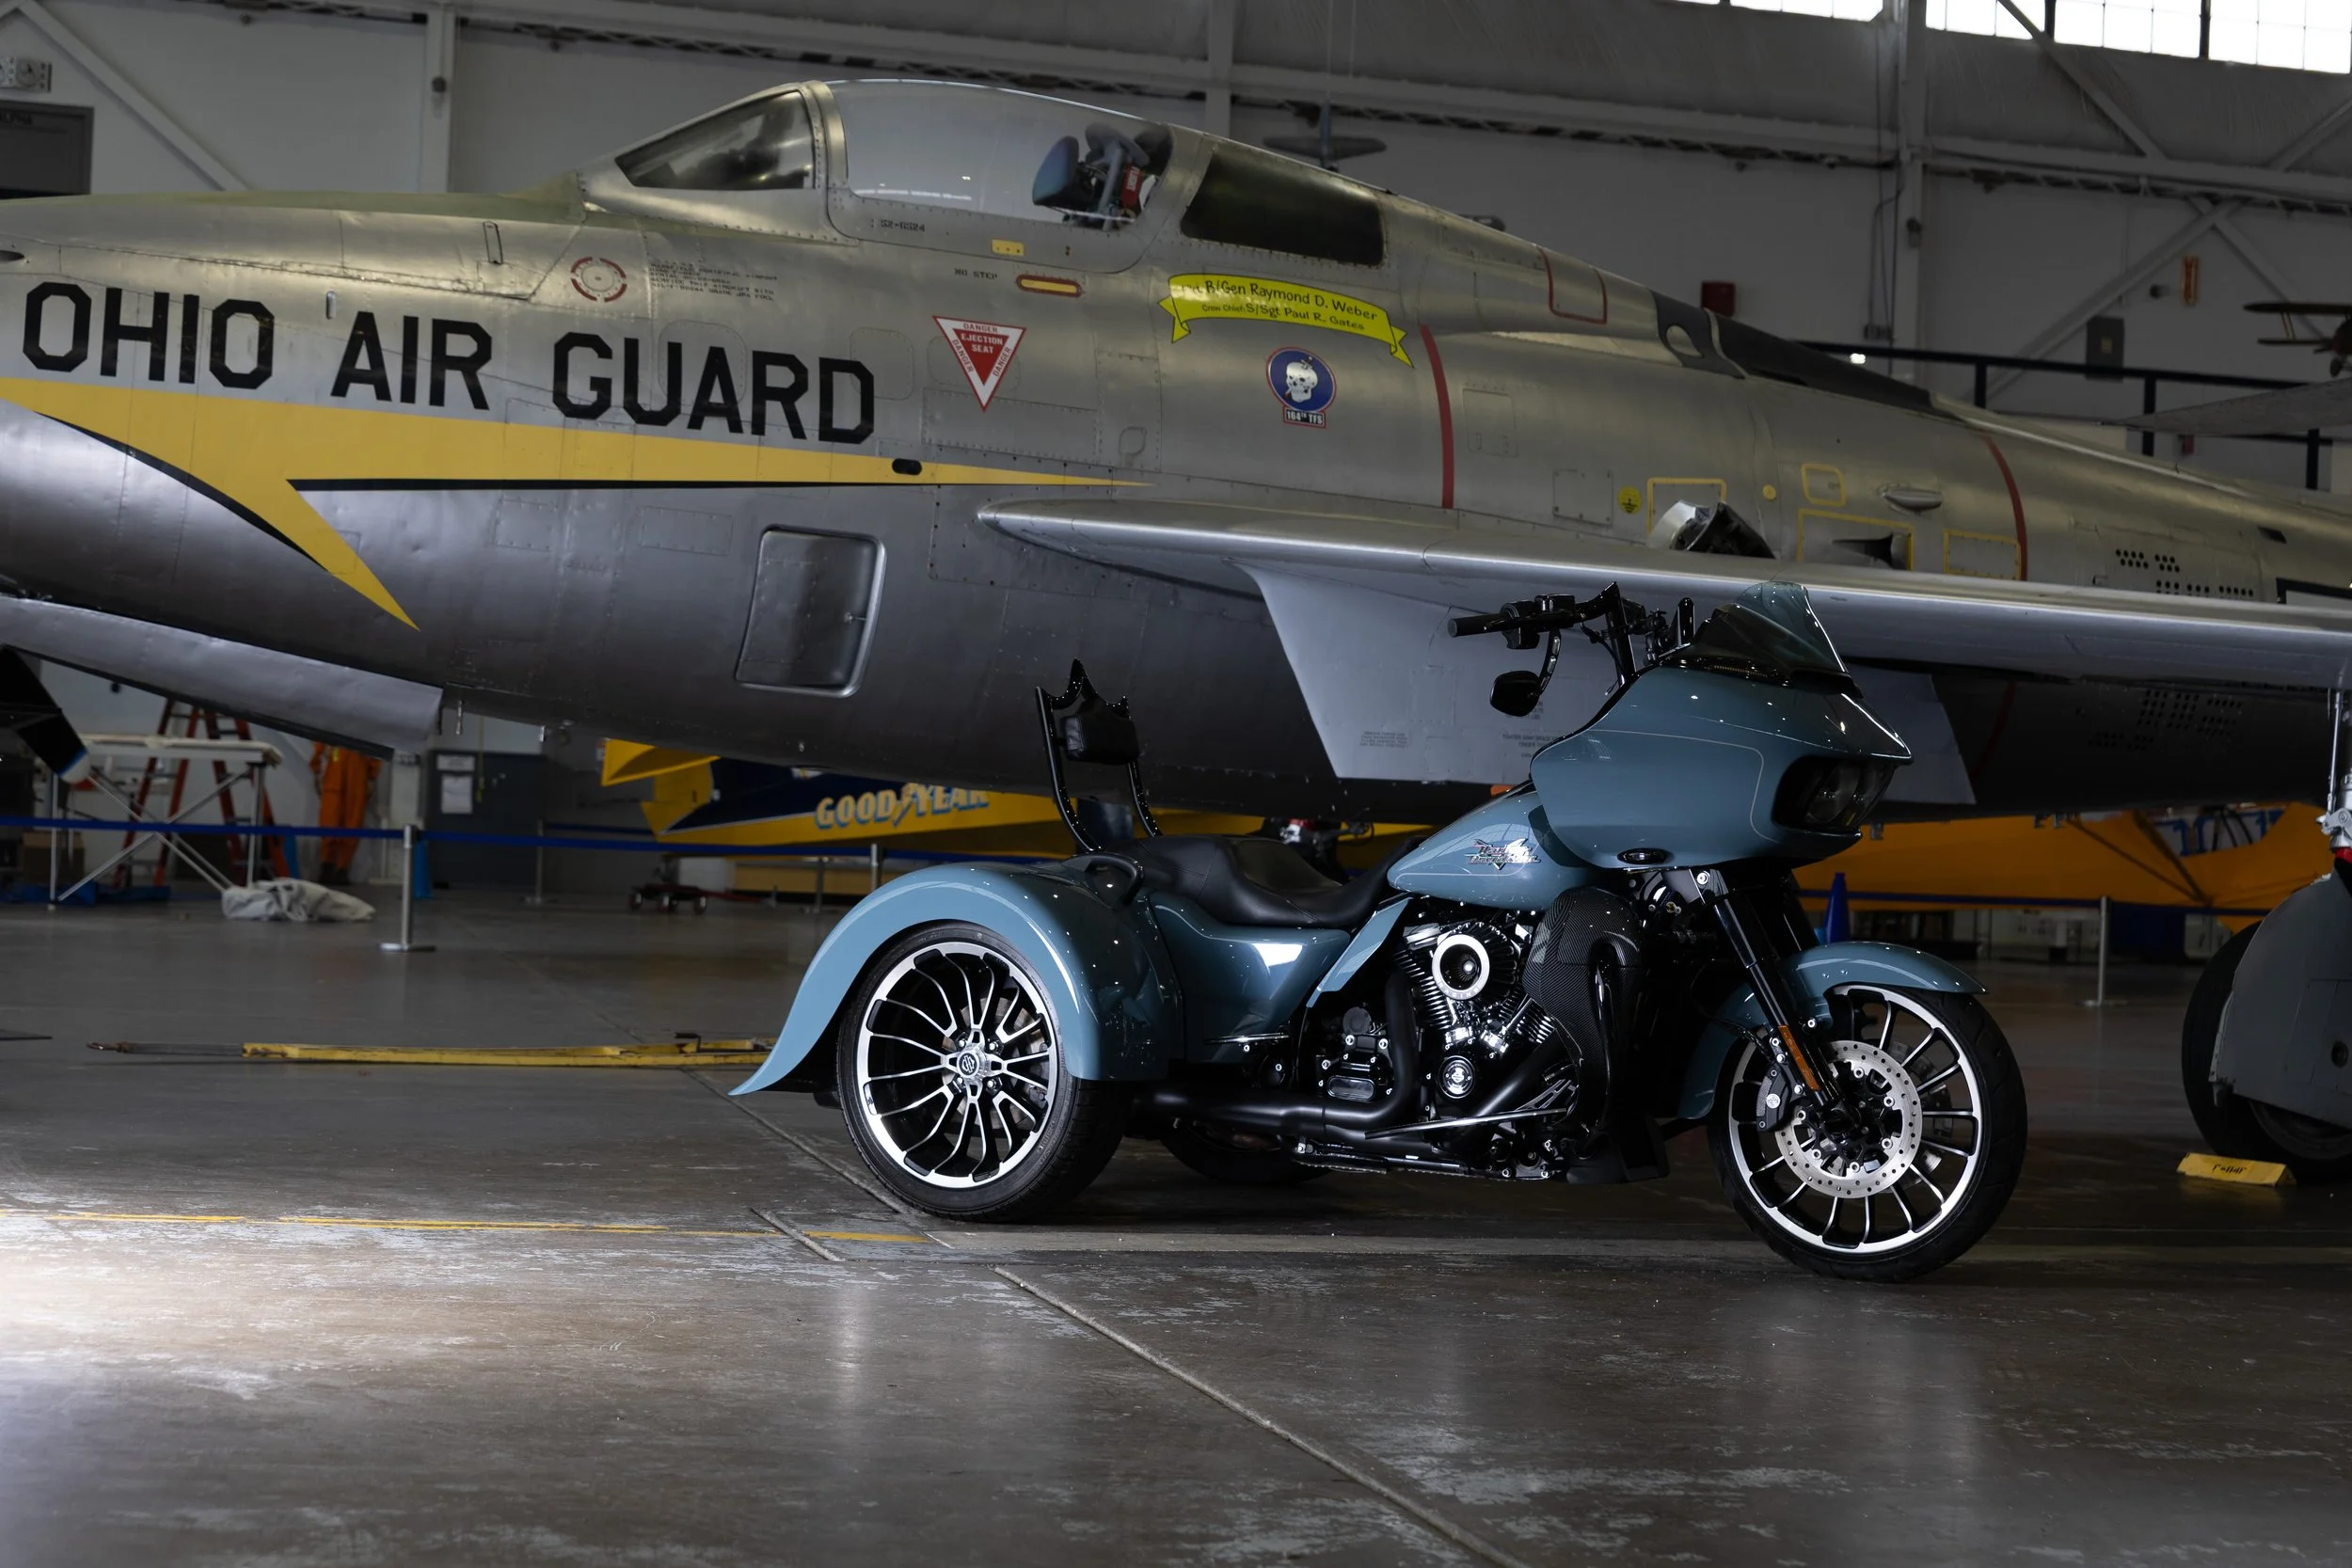
Once I edited my exposures in Adobe Lightroom I took the photos into Photoshop.
In Photoshop, I arranged and my layers with the base at the bottom and masked out the bike. Even though I shot this using my tripod and controlling the shutter remotely I still auto aligned my images to insure everything lined up.
From there is a simple task of creating a clipping mask for each exposure and using the soft round brush to paint in light where I wanted it.
In Photoshop I also got rid of some distractions in the background like the canvas at the bottom of the table.
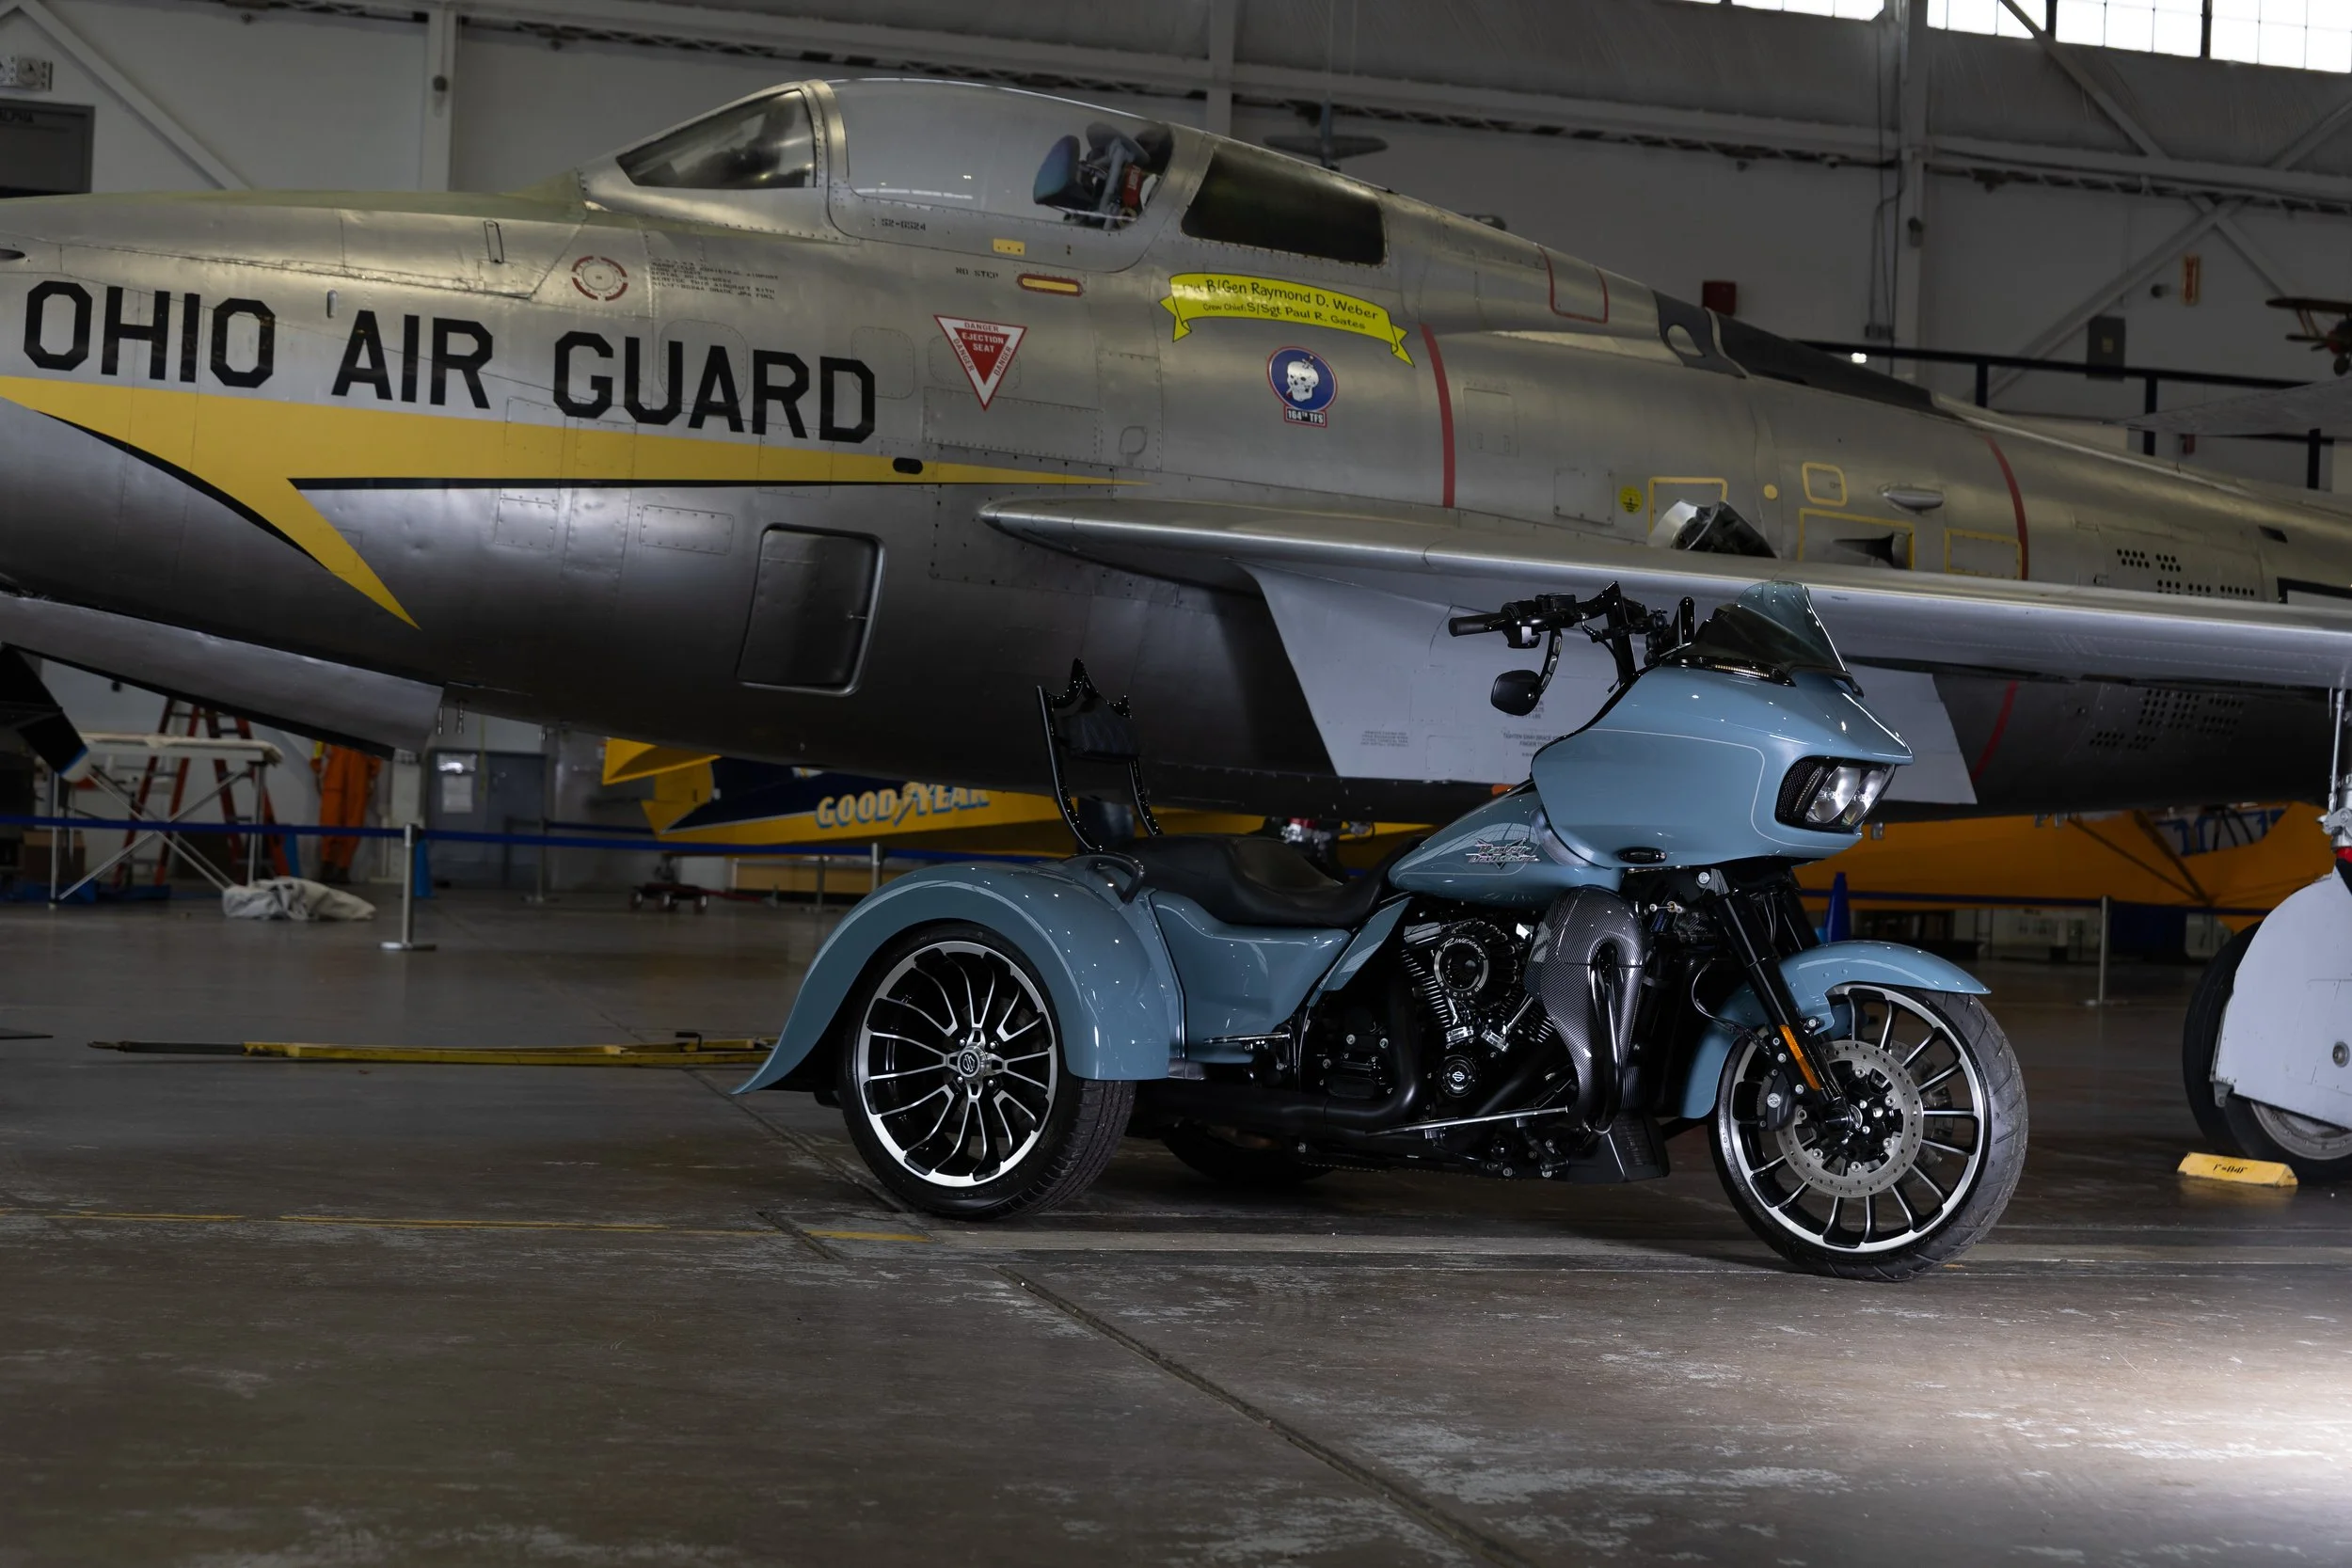
Utilizing this form of light painting can take any car or motorcycle in not ideal ambient light and make it stand out. Below is the final image that I was able to deliver to my client.
Here are my links to all the equipment used for this shoot. These are affiliate links so if you decide to purchase anything I get a small kickback at no extra cost to you.
K&F 82mm Variable ND and CPL filter
NEEWER Q300 300Ws 2.4G Outdoor Studio Flash
Neewer 24"x35" Rectangular Softbox